Tuesday, 17 July 2012

Rabbet Joint Box

While making the simple bevelled wall board for my 'Ships Clocks' a few days ago, it occurred to me that the very same design might make a good (albeit chunky) box lid. 

My stock (scaffold board Pine - of which I have a lot of it!) wood is around 1 1/2" thick, the simple design allows me to use what I have without having to waste most of the wood making it thinner. It also saves me a lot of sweat with a hand plane!

It also occurred to me that I have never made a simple Rabbet jointed box...

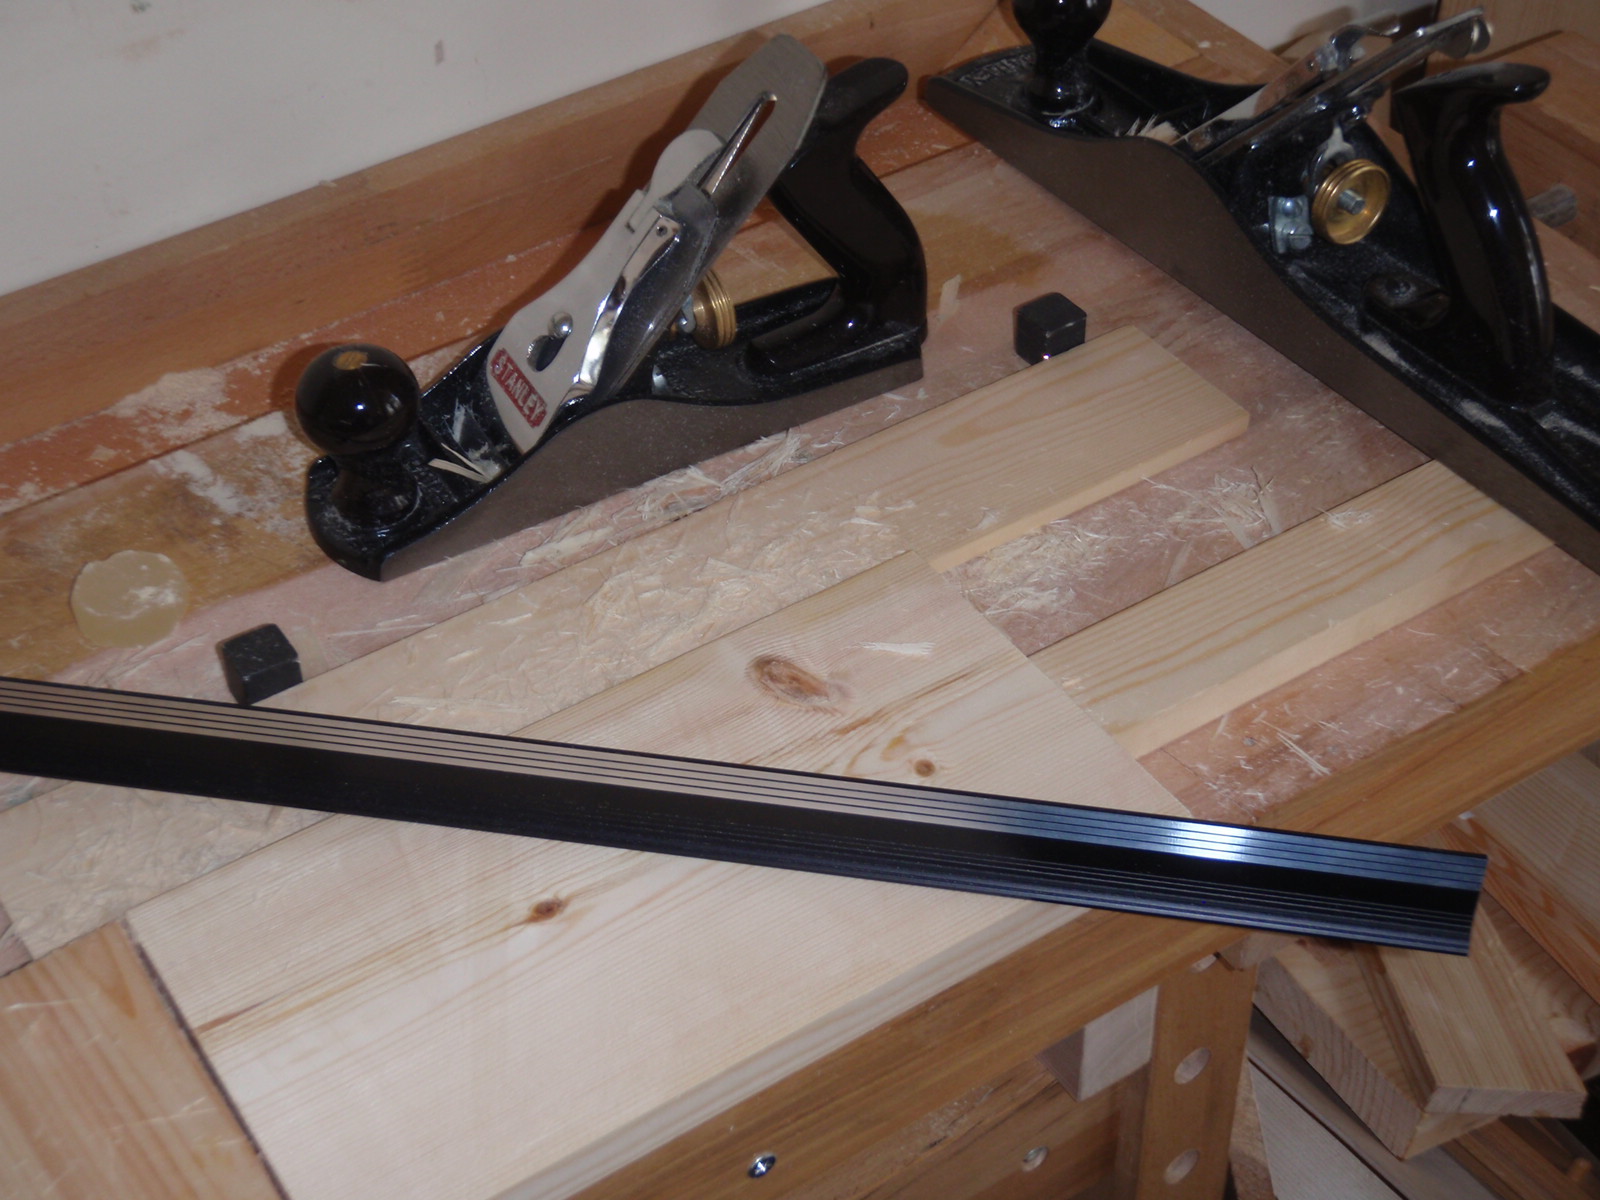
I completely forgot to take any pictures during the build as things progressed pretty quickly. A rough description of the steps I took are below:

Box Carcass
  • Cut four pieces (2 long , 2 short) of cheap (pre-planed) Pine to length on the bench hook.
  • 'Shoot them' to exact lengths with square ends on the shooting board.
  • Mark and cut the shoulder line of each rabbet on the short sides of the two long boards (the front and back of the box) again using the bench hook - 2 rabbets per long board.
  • To form the actual rabbets, I first tried using my small shoulder plane with a wooden baton clamped in place to keep me straight, but this proved to be quite slow. For the three remaining rabbets, I simple used my dovetail saw to cut down the end grain (much like sawing a tenon), finally cleaning the joint up with the shoulder plane. In retrospect, I should have (been brave) tried to remove the waste with a chisel which would probably been even faster than sawing.
  • Use a plough plane to cut 1/4" grooves in the bottom of the boards for the base to fit into.
  • Cut a thin plywood board to size for the box bottom.
  • Glue the carcass together.
  • Plane the edges and joints flush and generally tidy it up.

The Lid
  • Approximately cut to length a piece of rough scaffold board.
  • Assess the board for grain direction and use winding sticks to check the 'wind' and straightness of the board. Pencil in notes on the board as to what work is likely to be required and where.
  • Plane one face flat using my no#6 and mark it as a reference.
  • Hand plane the adjacent long edge straight and at 90 degrees to the first face and mark it.
  • Use a marking gauge to mark all around the edges of the board to get it to uniform thickness again using the no#6 to remove wood fast.
  •  Use a marking gauge to mark the second long edge parallel to the first.
  • Precision cut the board to the required length and ensure it is square.
  • Mark bevel lines all around the board using a marking gauge. Used my no#4 plane to create the bevels, being careful to finish the short end grain sides first.
  • Fit small brass hinges and apply some wax finish...
While the box does look rather like a coffin for a small dog or a cat, it was very enjoyable to make with most of the project being completed in a single day. Rabbet jointed boxes come together pretty fast! Not as nice looking or as strong as a dovetailed box, but I did learn from it and at this stage that's the most important aspect for me.


More 'simple' projects to follow ...


Wednesday, 11 July 2012

LN 5pc Bevel Edge Chisel Set


With some well earned cash in my pocket I have decided to treat myself to a long awaited indulgence - A 5pc set of Lie Nielsen Bevel edged chisels complete with the leather tool roll. 

After some discussion with a few other woodworkers who's opinions I have come to value, I decided to opt for the O1 tool steel, over the A2 steel. As I do a lot of stuff with soft Pine, I'm hoping the lower 25/30 degree bevel of O1 steel will be more suited than using a 30/35 degree bevel as required with A2 steel.

These Lie Nielsen chisels will replace my cumbersome Stanley Fat Max chisels, for finer joinery like dovetails etc. The Stanley chisels will still earn their living doing 'DIY' type chores around the house & garden. Each Lie Nielsen chisel feels so light and balanced in the hand, I am sure they are going to be a joy to use - as are all my other LN tools.


The sizes are 1/8", 1/4", 3/8", 1/2", and 3/4". The leather roll, while expensive is very nice quality and well made and really completes the set. Having space for seven chisels allows me to also store my two LN mortise chisels making a really nice set.


I'm gonna need (to make) a bigger tool box soon...

Wall Mounted Ships Clocks

Wow it's been nearly two months since my last blog post! Will anyone still be reading this?

While I have been back home from my yacht delivery for a few weeks, I have been busy building a new wooden garden fence and spending my time with Bible study. Finally, the other day the lure of the tools enticed me back to my wood working room to build something. Nothing complicated, just something quick and dirty to get me started again.


A simple bevel edged board to wall mount my beloved ships clock & barometer. These little treasures of mine have been with me on all my sailings, including three single handed Atlantic crossings, so they mean a lot to me. It will be nice to still enjoy them now I'm a 'land lubber'.

Anyway, I'm back - I haven't forgotten the blog and there will be more small projects to come, I promise.


Friday, 18 May 2012

Back to Sea

Just a quick Blog update ... Not much wood working action recently as indicated by the lack of posts.
I am busy preparing to deliver a nice little J92 racing yacht from the UK across Biscay and through the Gibraltar straits to the south coast of Spain. 

I will be gone for a few weeks but there will definitely be more projects when I get back.

See you all soon...

Sunday, 29 April 2012

Dovetailed Box

After attempting my first dovetails around November last year, I haven't built upon the experience or attempted any other dovetails since. The Small Pine Chest was (and still is) my favourite project so far and I think I got very lucky with some quite tidy joints for a beginner.

I decided it was time to attempt to repeat the experience, almost knowing ahead of time that the first time was a fluke, and so to prepare for disappointment.

The idea for this project came from a small piece of Oak I had which was an offcut from the first ever thing I made. I decided it would make a nice lid for a box, and this with a length of 6" wide Pine board formed my stock.

I wont bore you too much with the starting process, needless to say that the bench hook, tenon saw and square, chisel and knife saw to cutting the pine to length, before using my no#4 plane and shooting board to shoot the ends clean.


Having all my components to size, I started to get a feel for the finished box.


After cutting to length I noticed a slight cupping of the boards and so dealt with this by planing across and diagonal to the grain with both my no#6 and no#4 .


Time to get my tools sorted for dovetails....

I used my new Veritas 1:6 dovetail template to make short work of marking out the tails, doing two boards at a time.  It's certainly more accurate and less fiddly than using a bevel gauge. Time for some chopping...


After a quick sharpening session, I decided to remove all the tail waste using only chisels. Previously I think I removed the bulk of the waste using a fret saw. Once complete I marked out the bespoke Pins one board at a time using the side of my no#4 plane to mate up the boards accurately.


Maybe as a result of watching to many Utube dovetail videos, I tried to make the effort to not be overly slow and meticulous about making this box. I certainly didn't fuss to much with cutting the tails knowing the pins are marked from the tails and should correct any innacuracies. Obviously you get faster and better with time, but I don't want to spend a week making a simple box.


Ok .. first dry fit... not as good as they should be cosmetically but it's certainly a strong box! Lesson learn't my board ends are slightly off square and hence my baselines are different either side of the board when marked out with the marking gauge. It's not a lot but enough to create gappy joinery. On with the show...

I thought it was about time I did my first ever grooved bottom and do the box bottom properly. 
Ta daaa....The debut of my new Record 44 Plough plane. After sharpening the 3/16ths blade and a quick practice with a small scrap of pine, I went for it. The groove was cut to (just over) 5mm deep, meaning I had to allow 1cm in length and width when cutting the bottom piece. I decided to put the grooves all the way through the pins and later hide the resultant holes with a skirt.


Time to cut some thin plywood for the bottom... 25cm x 17.5cm.


And do a dry fit....


The box holds together really tightly, it could probably serve it's purpose without glue.... I hate this bit!


Panic over - I managed to get it all together with a lot of banging with a leather faced mallet and a scrap of wood. Unfortunately, the sight of the joinery closing up nicely with the added gap filler of glue led to me applying slight too much pressure....Doh!


Not to worry - it's not the end of the world and I can probably doctor those small cracks when the glue is dry. The next step was to plane the old varnish from the box lid, trim it to size and add a decorative small bevel.


With the box out of the clamps I used my Stanley 102 block plane to trim the proud pins and tails before smoothing with my no#4.


The clamps and glue had helped to close up the dovetails, still not perfect and the odd one was a little gappy, but overall I'm not too disappointed as a second attempt. In the true spirit of 'full disclosure', the following pictures show the pins and tails of all four sides.

Basically at this stage the box is almost complete and I had a change of mind (partly due to laziness) about fitting a skirt to hide the bottom groove in the bottom half pins. Instead I thought I would keep it simple, try and match the grain as best as I can and plug the holes. 

I used a chisel to 'rive' off small pieces of  pine and trim to fit before glueing them in and finally using my flush cut saw to trim them off. I think they look fine.

So aside from having any hinges (which I'll fit at a later date) and a coat or two of Boiled Linseed Oil (BLO), I was done. All in all I am quite pleased with this project both in terms of how it turned out and the time it took me to do it. Being only  my second attempt at dovetails and my first ever grooved bottom made it interesting from start to finish without it becoming too epic.


Friday, 27 April 2012

LN-7 Jointer Plane

It's funny how things all turn out and help you make a decision. In the past week I have both sold my boat... and ... received a lovely letter (and cheque) from the Tax man.  Finally, the icing on the cake,... I was sent a discount email for 10% off any item from Axminster tools. 

Now, despite all the above, ... This decision did not come lightly I can assure you! I am sure the Quangsheng planes would have probably served my purpose adequately, in fact from the reviews I know they would. 
They sound like really good planes at amazingly cheap prices. But... I am thinking of this as a one time quality purchase and I would always be wondering or lusting after the Lie Nielsen tools. No political or moral views came into it - I simply could afford what I wanted in the first place, regardless of the quality and value for money of the competition.


It's lovely! ... If I get the same feeling from using this new no#7 plane as I get from my other LN tools, it's money well spent. I am also enquiring about a LN no#3 smoother in iron (not bronze), but I would like it with an O1 blade and the high angle 55 degree frog. I have decided against the LN no#5 Jack plane for the moment as my old Stanley no#6 has been (begrudgingly) earning it's keep with a newly cambered iron.

As the new no#7 jointer / try plane and my crusty rough and ready no#6 fore plane both have 2 3/8" irons I decided to also spring for the DMT Diasharp 8"x3" stones in both Fine and XX Fine (8000g).  I will still keep and use my 6"x2" DMT stones for chisels etc as they are a lot lighter and more portable for other work or jobs I may do away from the house.


And lastly, it's time I started doing a lot more dovetail work and treated myself to the Veritas 1:6 dovetail marker.


I will be using it in a little project soon....


Tuesday, 24 April 2012