Showing posts with label Workbench. Show all posts

Thursday, 19 July 2012

Poor Mans Moxon Vice

Up until now I have been struggling with work holding on my little bench and its poor excuse for a face vice, especially if I need to hold a wide board for dovetailing for example.

My usual solution is to stand the end of the board on something below the vice and pinch one side of the board in the end of the vice and use an offcut to minimise the vice racking and hope it holds... Far from ideal!

Therefore, with my last dry (it hasn't stopped raining over here in the UK) scaffold board, I decided to make a poor mans version of the Moxon Vice (Utube).

Life started out by rough cutting the board to length. Raised beds function really well as saw horses. While sawing the board the cross cut saw started to bind indicating that there seemed to be a lot of internal stresses inside the wood. I had to finish the cut from the opposite side, at least its only a rough cut.
 

The next step was to rip the board into two pieces using my 5 ppi rip saw.
 
Again the saw started to bind and the wood actually split apart about ten inches before I completed the cut. Thankfully, the split was pretty accurate and not far from my marked line. After a quick assessment with the winding sticks it was time to get the boards flat and smooth.


For each board, I used my no#6 Foreplane to remove the rough saw mill marks and get a face basically flat and wind free before finishing it with my new Lie Nielsen no#7 Jointer plane. After the face I made one of the edges straight and square to the reference face.

Lastly, using a marking gauge, I marked all around the edge of the board before flattening the other face side to thickness and making it parallel with the first side. One thing I have learn't is always plane this second side across the grain towards the unfinished edge. If any spelching occurs, it will get cleaned up when completing the final edge. Finally, I made the last remaining edge square and parallel to the first edge.

With both boards basically four square, all that remained was to cut and square the ends on the bench hook.

After flattening, I ended up with one board being 1 1/4" thick and the other 1 3/8" thick. I glued a piece of 2"x2" timber as a cleat to the thinner of the two boards, this would be the back vice 'chop'. I thought that the added cleat would make up for the slight lack of thickness.

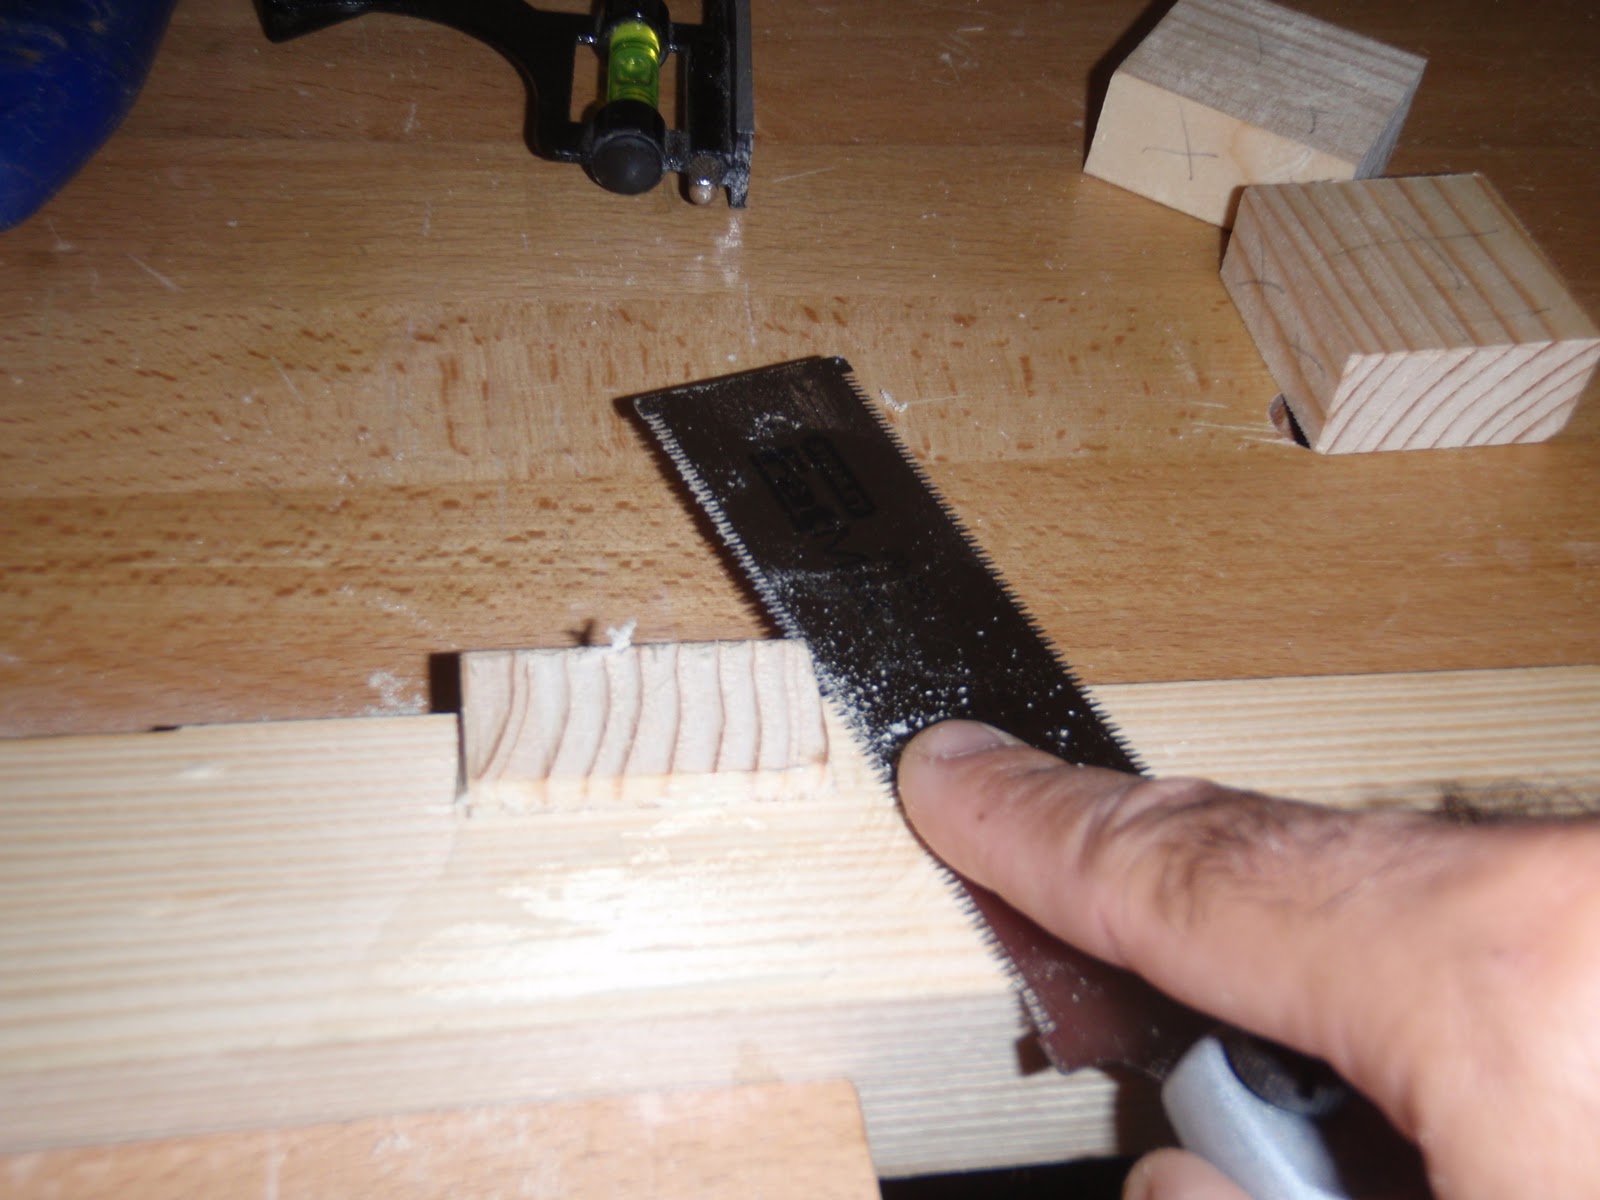
The last remaining step to get a functional vice was to bore the holes in each end to accept the F-clamps.

With the vice essentially finished, all that was required was to soften the corners with a block plane and give the whole thing a light coat of Linseed oil to provide a bit of protection. I used a pair of holdfasts to attach the vice to my bench.
 
The distance between the clamps (width of board the vice is capable of holding) is just under 24" and I didn't think to make sure it was over 24" when cutting the ends square as the thing looked more than adequate for my needs. With hindsight, 24" is a good minimum capacity, as a lot of furniture uses 24" wide boards.

One last note, the vice might be handy for work away from the bench as it fits really nicely on my Saw Bench. If the sun ever shows up, maybe some dovetailing in the garden?...


Friday, 23 March 2012

More Stools pt1

I am finally motivated enough to get myself back in front of the bench and actually build something - about freaking time! As you (regular readers) may well know, one of my 2012 resolutions was to 'sell some of the things I make'. Well this has been achieved by selling my Rustic Stool and has given me incentive to make a few more to sell. Mainly, to recoup some of the money I have tied up in timber.

The session began by discovering my bench top was no longer flat, maybe due to the arrival of Spring and the warm weather we have been having lately or my bench repairs I did a short while ago? Either way, before anything else could happen it was time to warm up with my trusty no#6 foreplane and a straight edge.

Once the top was vaguely flat, I also remembered I had yet to re-drill the dog holes to make the bench usable. A few minutes later I was ready to finally begin work ... no I wasn't. As I haven't been doing much wood work lately, I knew things would need a bit of a sharpen. My first tasks would be dimensioning the leg stock and processing the rough cut seat tops. 

Two large chisels, my marking knife and the no#6 plane blade, all sharp and ready to go...

I had previously rough cut four pieces of stock from one of my scaffold boards to make four stool seats, one small, two mid size and one slightly longer - all the same scaffold board width. I also had twelve meters of 2"x2" Pine leg stock.

Work began by planing the seat tops to remove all the rough saw marks to make marking out easier and basically get them flat. First across the boards, then diagonally and finally with the grain. This process allowed me to familiarise myself with the directions of grain flow and mark the boards where it changed direction etc.

The next step was to use a straight edge and get one of the long sides straight, followed by making the opposite side both straight and parallel. Luckily the boards weren't to bad and this went quite smoothly. 

To be honest, I know from previous experience that the stool's joinery is not too dependant on the seat tops being perfectly flat and square so I wasn't to obsessed with getting them perfect - it's a 'rustic stool' after all!

I did notice that the two medium size seat pieces were showing signs of cracking in the end grain, obviously from drying out to quickly. I decided to leave them alone to see how they develop over the next few days and only build two stools - a larger and a small one. 


The last step was cutting both ends of the board to get them square with nicely finished end grain using my trusty large tenon saw.


A short while later I had two seat tops ready for joinery. I hadn't smoothed them as this can be done later.


Time to dimension some leg stock...

I decided from my previous stool and the difficulty in finding a suitable size box to post it in, that both stools would have the same size legs, at least to begin with. I am not building from plans so this may change on down the line according to the look of each stool. The main thing is I know both will fit in my planned postage boxes.

Standard procedure, mark all four sides with the knife, pare out the cut line with a chisel and then cut squarely on the bench hook using my Carcass saw. I had to cut around the unusable knotty bits.

I love my Lie Nielsen saws, they are such a joy to use! I'm not sure if it's because I haven't done anything for a while but my sawing is more accurate then ever! It maybe (and probably is) due to my new adjustable square being more accurate than my larger more cumbersome cheap combination square?


Anyway, there we go ... Two seats and eight legs. The sun is out so that's enough for today, time to go and plant out some carrots in the sunshine.

Stay tuned for pt2.


Friday, 24 February 2012

Work Bench Repair

As mentioned previously, my poor little bench recently decided to give up the ghost and collapse on me.


Until, I get round to building a proper bench, I have decided to make some 'improvements / repairs' so I can at least carry on working wood. It's been ages since I have actually built anything useful!....

Anyway, the first thing to do was to lower the bench height by a good few inches. I have always found it hard to get some weight squarely over the plane and pushing sideways rather than downwards increases the lateral forces being exerted on the poor little bench frame therefore increasing the racking.
The bench felt quite a bit more stable immediately the legs were shortened.  Next, add some bracing...
I had some pieces of wood that were perfect for the job!

With the four braces added and reduced height, I could really feel the bench frame start to stiffen up.

One of the biggest annoyances with this beginners bench has been work holding. All the dog holes are some stupid small size (~ 15mm) and not the normal 3/4" (19mm). Even if they were the correct size, the bench top is not thick enough to use holdfasts or hold downs. Also, even without the drawer on the front face of the bench, the bench top skirt made clamping almost impossible. I decided to put in some 'blocking' underneath the bench to thicken it up and bring it closer the the thickness of the bench top skirt.

The first job was to rip and glue up some timber to form a panel of the correct width. It only had to be flat(ish) on the side that was to be glued and vaguely square as it was not going to be seen - Its a workbench not a piece of furniture.
This panel, was then both glued and screwed to the underside of the bench top making the bench top now a good 2" (50mm) thick.
I used counter sunk screws from the bench top down into the blocking panel and also reused the screw holes that used to hold the draw rails on the front edge to secure the panel.

Lastly, with the timber I had left, I added a large brace across the front of the bench, this is in line with the bench top edge, so could be useful for planning the edges of large boards such as table tops.
With the thicker bench top and no drawer in the way, I can now easily use F-Clamps to clamp work on the front face of the bench and the whole bench feels a lot more secure.

I am not expecting miracles from these quick and dirty additions, but the bench is definitely better than it was. I will get round to re-drilling the dog holes and maybe get some Veritas Wonder Dogs and Hold Fasts for it, as although quite pricey, they could be reused on a new bench in the future. Maybe build a Moxon style bench vice?

At least I have a working bench again...for now anyway!


Friday, 17 February 2012

Lack of Motivation

Another post ...at last!... Sadly again without in any real useful or interesting content.
Lately (as regular readers can probably tell), I have been lacking motivation in the wood working department - for a number of reasons. 

Firstly,  I don't have any wood around that's suitable for any of the things I'd actually like to make - such as a tool chest. My 'Timber Investment' is still drying out in the shed and wont really be ready for anything other than really rustic work and gardening projects for a little while and I am too tight to purchase more premium cost wood from the timber yard.

Secondly, in my quest to escape the timber merchant, I have been trying to process the raw billets of Oak and Walnut with a lot of frustration! While my little bench was fine for pre planed wood, it's simply not man enough to handle the rough 'scrubbing' of the billets down to usable dimensions. The poor thing racked so violently, it almost fell to pieces!


The base twisted so badly that the bottom shelf fell out and I swear the bench tried to escape from me by smashing through its supporting wall! Anyway, ... I will try and brace the bench up and bite the bullet and make it as low as possible to see if that helps with planing, while I try and ignore the obvious - Make a PROPER BENCH!

And I thought everybody was building Roubo benches just because they were just fashionable!

Lastly, being as OCD as I am, I find it really hard to obsess about more than a single topic of interest at any one time and lately that topic of interest has been gardening.  The gardening obsession was born through my overall interest in 'Self Sufficiency', which in turn has led me back to wood working, albeit of a slightly different nature this time. As I have cut down a few small trees in the garden lately, I find myself  staring at their small trunks and wondering if there's any usable wood inside...

I found a guy selling really cheap (less than £30 inc P&P) Froes on Ebay. It's not hand forged or anything fancy but it's certainly good at it's job. I really wish I'd had this tool while in France playing with the Oak and Walnut logs. I 'carved' a mallet for it from one of the small trees, to save my Beech chisel mallet from being ruined. I have also 'invested' in a really nice Wetterlings hatchet, which is hand forged and lovely. 


A Hook Knife is still on the shopping list.... Spoons, Bowls and Kuksas here I come!... And, you don't need a bench!

More to come...

Thursday, 6 October 2011

Traditional Saw Bench

 A trip to the local timber yard over the weekend led me to find a cheap budget range of timber. Four 3m lengths of 2"x2" (50mm x 50mm) B grade Pine at a little over £1 per meter. I had to cut each 3m piece into 1m + 2m to fit it in the car. 


While the timber is less than straight and quite knotty, its (hopefully) perfect for me to build my long awaited saw bench. I have been wanting a decent saw bench for ages to cut stock to rough length outside using my panel saws.  It will also serve to chop mortises on while sitting down and as a 'workshop stool'.

Some online research led me to the following sources of information: here, here and here .

I figured I would follow the same basic traditional design using slightly different joints and measurements with the entire thing made from 2"x2" timber. The whole project is basically an exercise in precision sawing practice, thank god for my new tenon saw.


While the saw bench is a tool, I wanted to approach it almost as if it were a piece of furniture to improve my overall skills. Generally people talk about 'knocking together' a quick saw bench but this project took me a few days mostly because I was taking my time to do things right. I can see why nearly all hand tool woodworkers end up building their own Roubo style work benches, this saw bench is like an insight to what might be involved on a (much) smaller scale.

Edge jointing the four 1m lengths to make the top - lots of 'squeeze out'. I'm using PVA glue (again) as its likely the saw bench will see some use outdoors.

The next day, after the glue had dried I found a short crack in one of the pieces probably caused by the wood moving in its new climate and being glued, I guess something had to give. I cut and squared off the end back to good wood leaving just over 30" - plenty long enough.

The cut off waste piece showing the crack that developed after gluing up the top. I should have waited a week or so to let the wood become acclimatised with it now coming inside a heated house from outdoors at the wood yard.

Flattening the saw bench top using my no#6 and no#4 bench planes, across the grain, diagonals and lastly with the grain. I will do a final smoothing once the bench is assembled.


After cutting four 22" long pieces for the legs, I set my bevel gauge to 100 degrees to give the legs a 10 degree angle and marked out the joinery where the saw bench top will sit.


Placing the piece in the vice at an angle so that the saw stays 'plumb' while sawing the angled cut. The piece of wood in the vice to the left is to stop the vice racking. Remember to save the waste pieces for the bench top glue up.


Using my new 1.5" chisel and shoulder plane to clean up the  angled shoulder joints.


The saw bench top joinery for the legs.


First dry fit of the legs - it's starting to look vaguely like a saw bench. Later I will need to plane down the saw bench top to allow the legs to sit flush. I should have cut longer (deeper) joints in the legs. I am kinda making up the measurements as I go along - doh!


Marking out a recess in the legs to accept a lap jointed stretcher.


The sides of the recess are sawn and the waste chiselled out. Those 'new' chisels I rescued last week are already earning their place in the toolbox.

Glueing the leg stretchers, the saw bench top is used to ensure the leg assembly remains square. I had also earlier cut the 'ripping notch'. Unfortunately, this difficult cut was longer than the 4" deep blade of my large tenon saw so I had to resort to my pullsaw for the final inch or so.


Flush cutting the stretcher and leg lap joints.

Using a block plane and sand paper to break all the corners and remove all the glue and pencil marks.

Using the waste pieces from the leg shoulders to aid the clamping process for gluing up the  saw bench top to the angled legs.

One clamp for each 'pair' of legs and a large heavy butchers block for some extra weight and left overnight to cure.

At this stage my plan to build the saw bench entirely from 2"x2" timber changed. I had a 5 1/2" piece of Pine absolutely perfect for the upper leg braces. Oh well 'best laid plans and all'... Marking out the leg angles.


Despite this being a crosscut, I found it easier, faster and more precise using my large Tenon saw, I guess the 5 1/2" board is slightly too wide for the 11" blade of the carcass saw.


Using bench planes to remove cupping from the upper leg braces. I only bothered with the side that mates against the legs.


Laying out the screw holes. Six scres per brace, three holes per side. Half the leg thickness (1") from the top and bottom and in from the side. The third hole is exactly between the top and bottom ones found using deviders ... a lot of effort but 'first bite is with the eye'.


Using my brace to very carefully and slowly drill the counter sink holes for the screw heads followed by the pilot holes with my hand drill.


A smidgen of glue to make it bomb proof!


Leg braces glued and screwed - yet more squeeze out to clean off.


Screw holes plugged using small lengths of dowel.

A final light sand to remove excess glue and a coat of boiled Linseed oil - Done!

Ripping notch - I love the grain pattern.

Leg stretcher joint

Plugged upper leg brace

Saw bench trimmed to height using my knee as a gauge with 10 Degree angle on the leg bases so each leg sits flat.


At this stage the saw bench is basically complete and functional. I might later put screws in the saw bench top joints and also in the stretchers, but I'm hoping the glue joints will be strong enough. Also a 3/4" hole for a holdfast might come later.

I have to say despite the time involved, considering a saw bench 'should' be a simple project, I really enjoyed making it and once again learnt a hell of a lot. Especially as a lot of the mark up and cuts were not at the standard 90 degrees. This project felt like real old school traditional wood working, almost a right of passage! 

When I first started this blog only a short while ago I decided to buy a beginner bench as I didn't think I would be able to build my own. This saw bench build has certainly got me thinking ... and with my increasing skill level ... who knows my very own Roubo workbench may not be that far away....